
In a nutshell
- MOGRTs (motion graphics templates) are powerful tools for video editors using Adobe products like Premiere Pro and Premiere Rush, allowing them to quickly and efficiently use prebuilt text and graphics in their projects without extensive knowledge of After Effects.
- MOGRTs are versatile and can be used for various purposes such as lower thirds, intros, titles and transitions, saving editors time and effort in customizing their graphics. They can be easily shared, as they are a single, all-inclusive package.
- While MOGRTs offer numerous benefits, there are some limitations and challenges, such as a learning curve for creating them, the lack of dynamic updating, and potential issues with rendering and exporting. Despite these drawbacks, MOGRTs remain a valuable addition to any video editor’s toolkit.
No, it’s not a frozen frosty beverage with a milk alternative. An MGRT stands for “motion graphics template.” In many ways, they’re the best thing that’s happened to video editors using Adobe products in the last decade. They allow you to take prebuilt text and graphics and store them for instant use in any project at any time. If it were just that, we’d all be happy, but there’s so much power behind this concept that we can’t ignore. MOGRTs are the key to fast and efficient graphics in Premiere Pro and Premiere Rush.
Let’s take a look at MOGRTs and define what they are and why they’re such a big deal for motion graphic artists.
The secrets behind MOGRTs
In the beginning, we had the legacy Title tool. When Adobe introduced Essential Graphics in 2017, it revolutionized title creation. Duplicated titles became unique, so copying and editing one would not change all other instances. It also brought the character and paragraph panels in line with all other major programs. Gone was the annoying aspect of entering an entirely new interface just for text. But little did we know, Adobe had far bigger plans for this new system.
At its core, a MOGRT is actually a prepackaged After Effects project. When you use a MOGRT, you’re taking an After Effects composition and plugging it into the Premiere Pro or Rush timeline. The difference is that the user can only access a small set of predefined adjustments. This means you don’t have to know or even understand After Effects to use them.
What’s old is new
If all of this seems slightly familiar, it’s because Adobe has previously provided similar functionality. Dynamic linking was another system where you could put an After Effects project in your timeline. There are still cases where you may want to use dynamic linking. However, MOGRTs are faster, easier and — dare it be said — more reliable. You don’t have to go into After Effects to use them. Indeed, if you download MOGRT templates, you may never have to use After Effects at all. Now you can harness its power without even learning the program. MOGRTs are also easily shared, as they are one all-inclusive package rather than a project of potentially scattered files.
MOGRTs maintain flexibility. A quick Internet search will show you how to reverse-engineer a MOGRT and get back to the original After Effects project so you can modify it further. This is a great way to start learning After Effects. You only need to dip your toes into modifying some settings of a prebuilt project rather than creating entire projects from scratch.
Let’s make a MOGRT
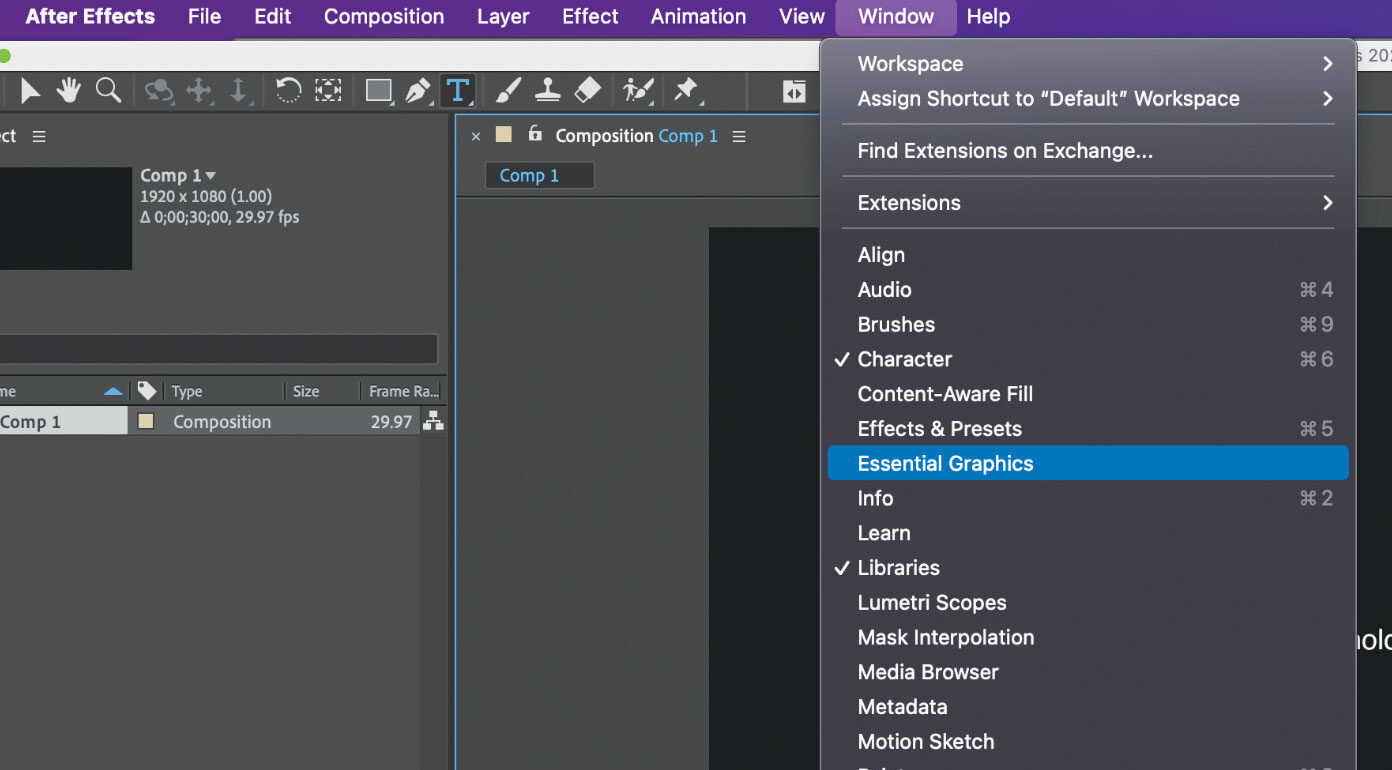
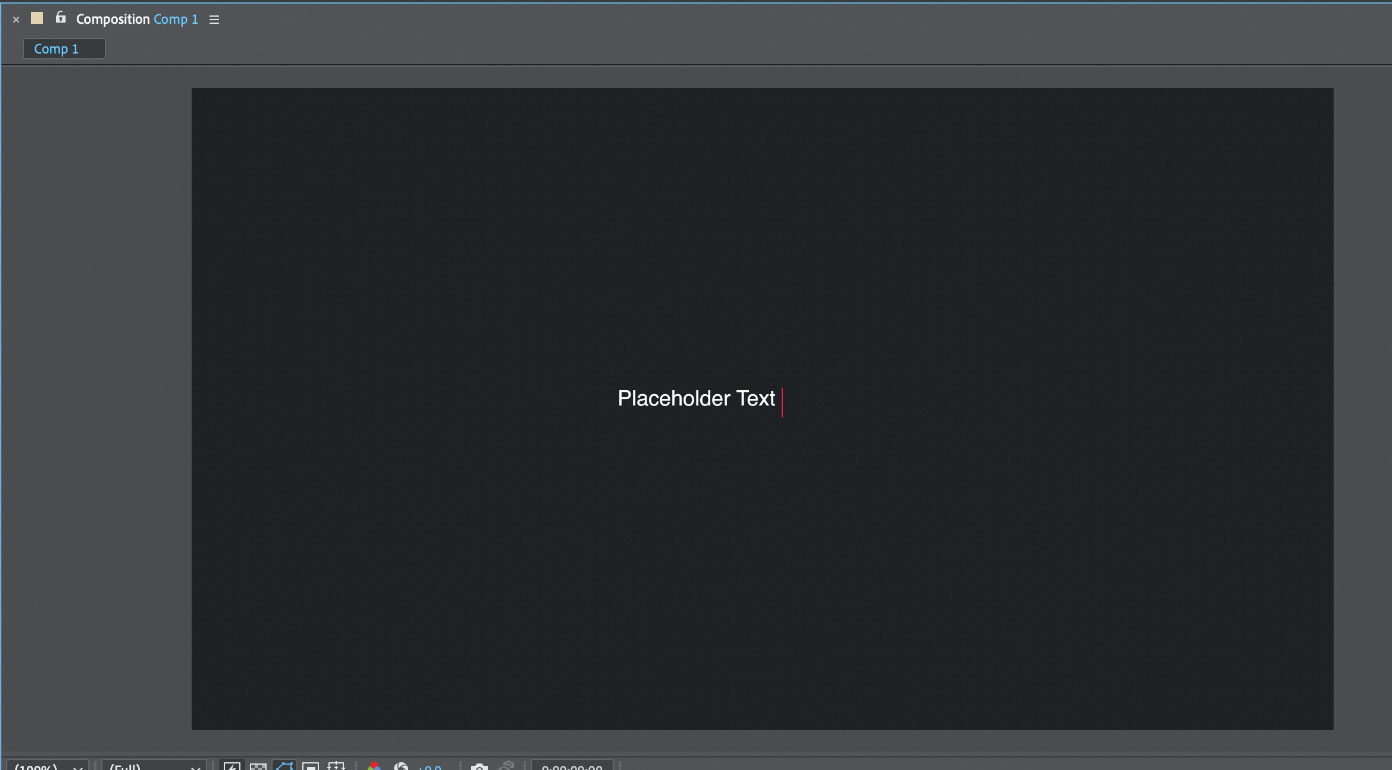
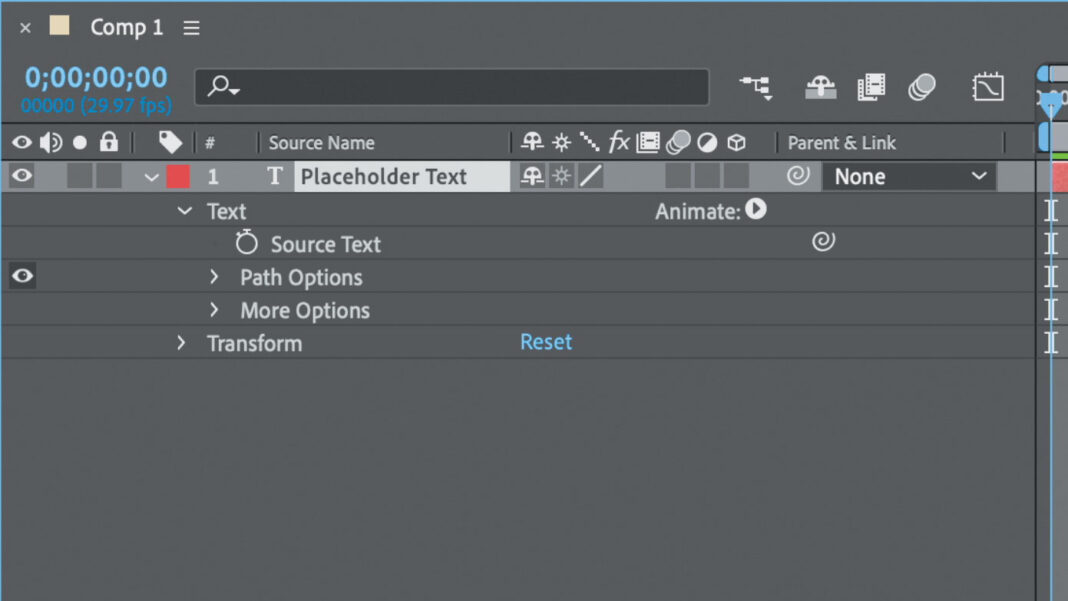
Don’t worry; you don’t need to be an After Effects wizard for this. Open After Effects. Hit the “New Project” button. In the menu bar, select Composition -> New Composition. The default settings are good for now, so hit “Okay.” Now choose the text tool (the stylized “T” on the screen), click on the playback window, and place some random text near the center. If you like, you can hit “V” and then reposition the text by dragging. In the “Window” menu, choose “Essential Graphics.” Now in the composition window (it looks like an edit timeline), hit the “twirly” (greater than symbol) next to “text.” This reveals a second “text”; click that twirly. Now you’ll see an attribute labeled “Source text.” Drag this to the Essential Graphics window. Now open the “Transform” twirly and drag the words “Scale” and “Position” over as well.
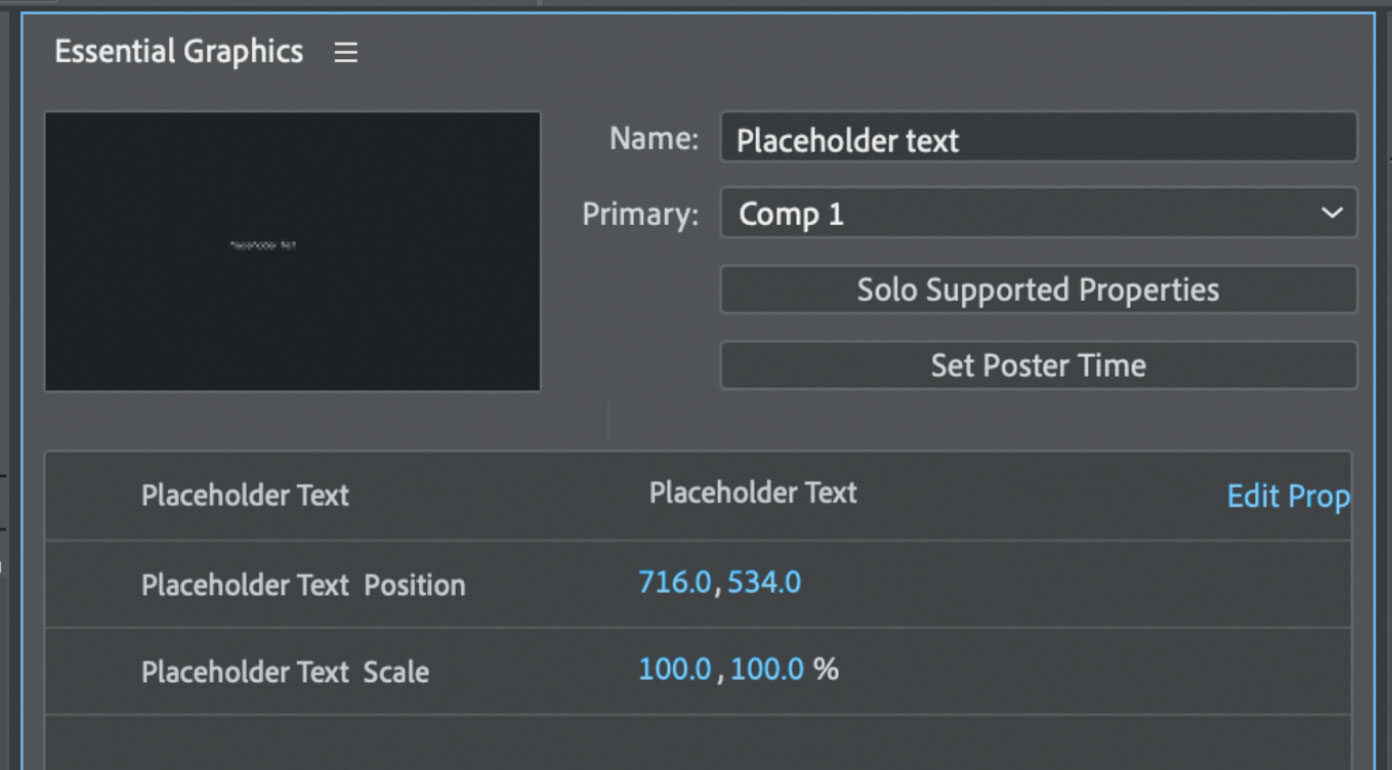
In the Essential Graphics window, give it a name and select “Export Motion Graphics Template.” Follow the on-screen prompts to save the After Effects project — you can delete it when you’re done. In the next window, for “Destination,” choose “Your library.” You can leave everything else as-is. Then, hit “Okay.”

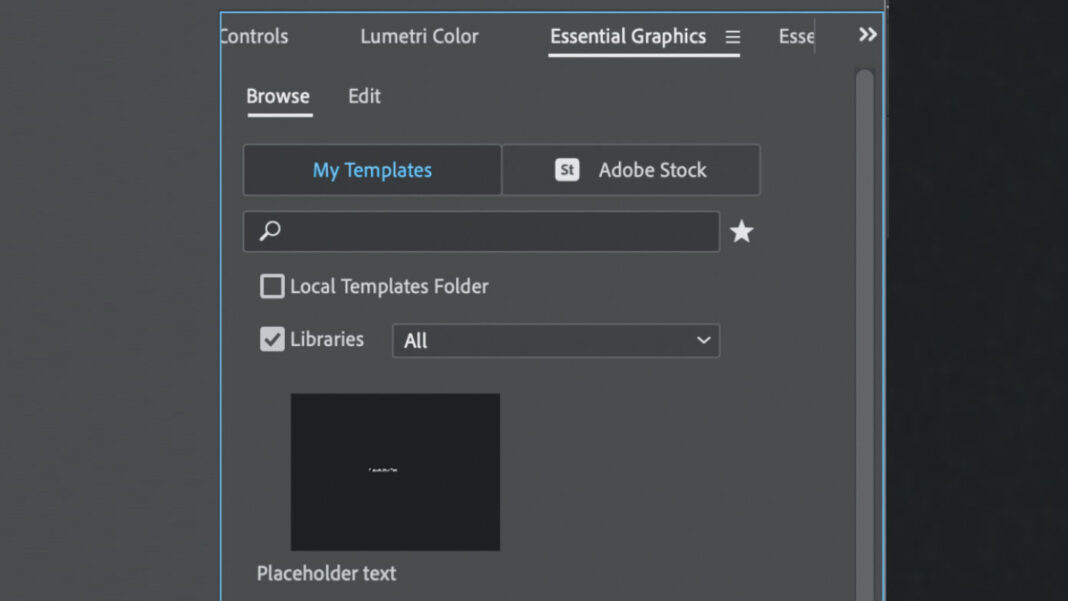
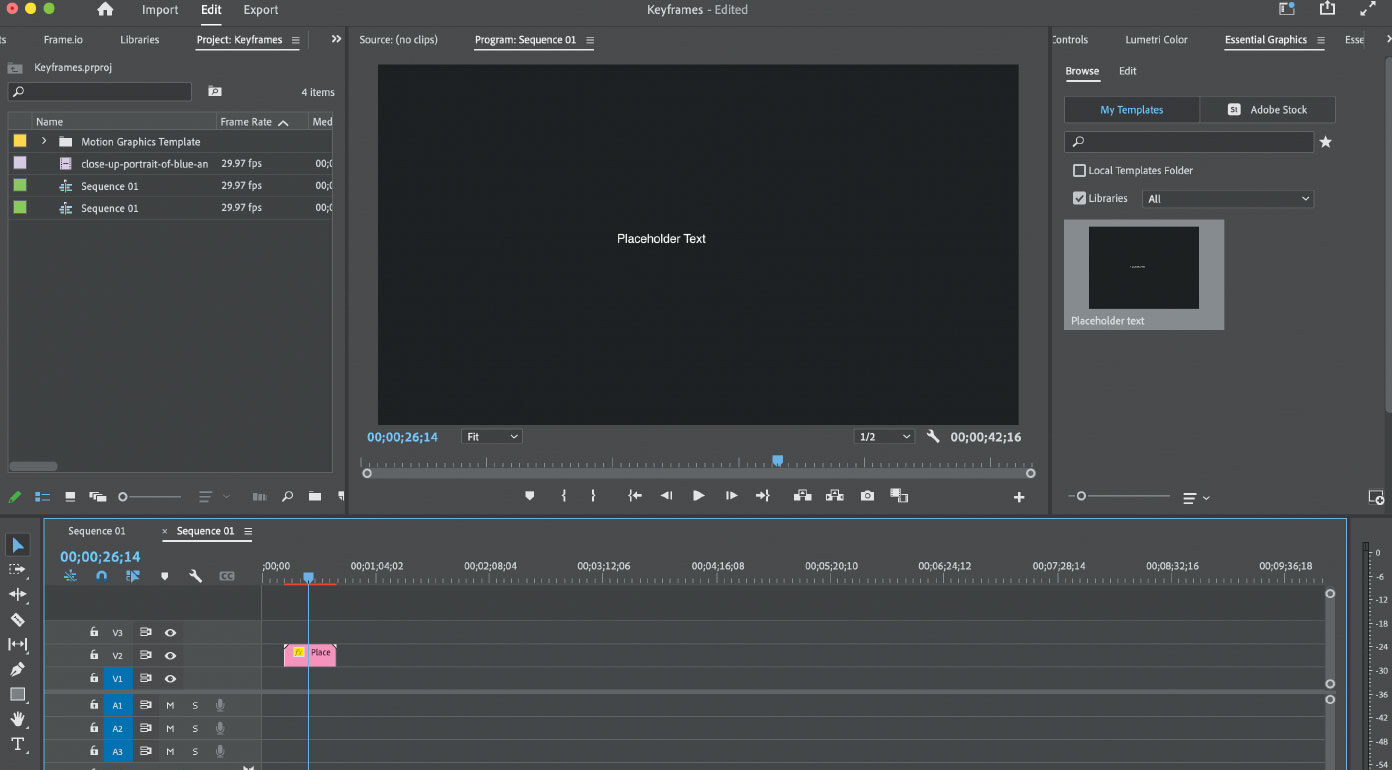
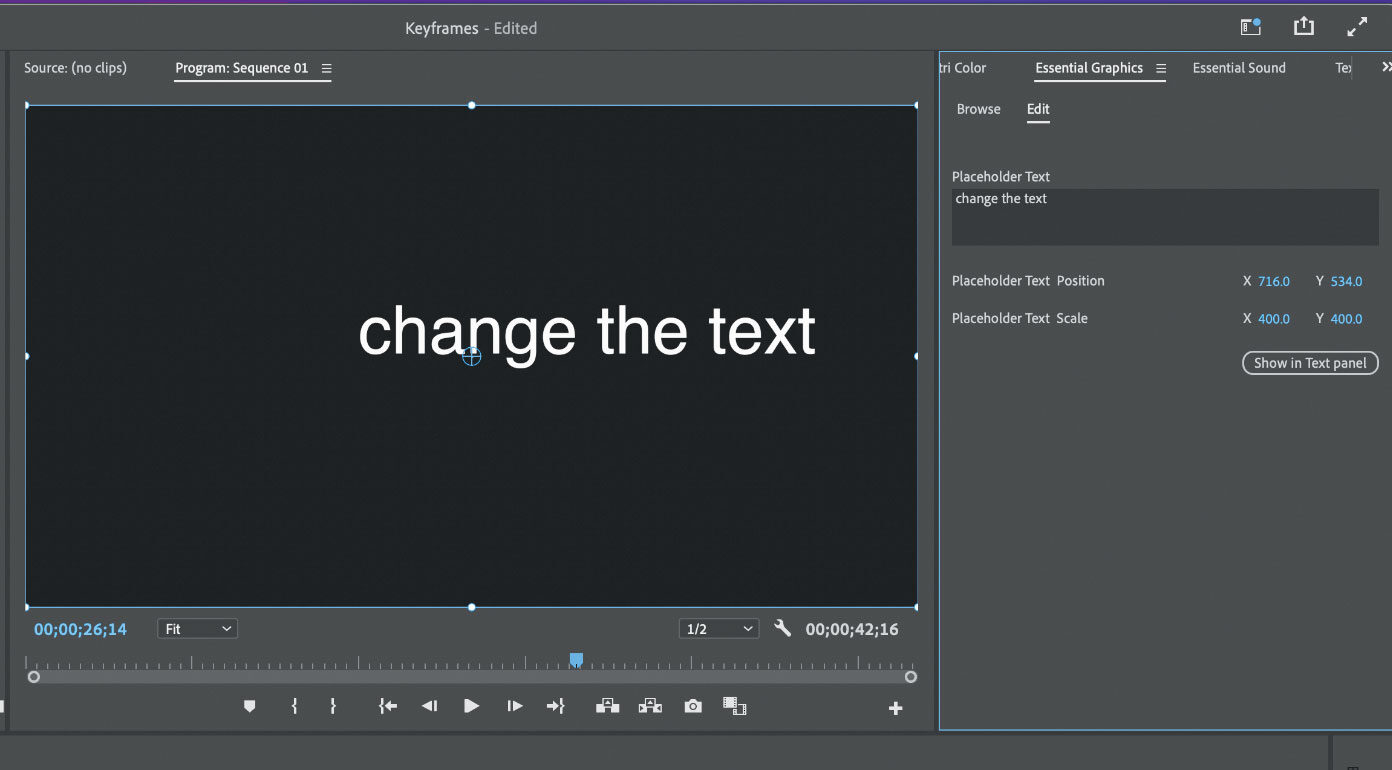
Now open Premiere Pro and create a new sequence. Open the Essential Graphics panel and choose the “Browse” tab. Select “My templates,” check “Libraries” and choose “My libraries.” Find your MOGRT and drag it to the timeline. Now, when you click on the clip, you will get options in the Essential Graphics window. You can change the text and adjust the scale and position. Congratulations, you’ve made a MOGRT.
Complexity at its simplest
Of course, all of these options are available with a regular essential graphic and the “effects settings” panel, but keep in mind this was just a basic introduction. Imagine making an exotic animated lower third and using it in all your projects by simply dragging it into the timeline and changing the text.
MOGRTs can get very complex. You can add automatic transitions in/and out of your graphic, and you can make them auto-adapt in certain situations. You can even include placeholder video clips that can then be swapped out later. This is perfect for custom intros that show shots from the current episode.

Where MOGRTs really shine
MOGRTs excel in their simplicity of use. When you combine things like After Effect’s slider, drop-down, checkbox and color controls, you can make an amazingly simple and flexible system that takes seconds to customize, saving minutes or even hours of work.
MOGRTs are everywhere
Use MOGRTs for almost anything, including lower thirds, intros, titles and even transitions. They’re especially useful for those projects where you have your video in a box on top of a looping background. Place the template in the timeline, add the video and you’re done.
You may not know it, but you’ve probably already used MOGRTs. All of the preinstalled templates in the Essential Graphics tool are MOGRTs. You can get more in the Adobe Marketplace and other stock suppliers like Envato, Storyblocks, Motion Array and pretty much anywhere else you can get After Effects templates. Many quality MOGRTs are available for free, so there’s no reason you shouldn’t put some in your bag of tricks.
Considerations for use
Like all graphical elements, you’ll want to choose MOGRTs that fit the style and mood of your project. Don’t choose flashy titles if you’re doing a somber documentary. The viewer will not know that you’re using cool technology, but they will notice if the graphics are distracting.
Avoid choosing MOGRTs that are more complicated than you need. Avoid a lower third template with four lines of attribution when you only need the presenter’s name. In the time it takes to deconstruct a MOGRT, you might be able to create several of your own simple designs. MOGRTs should make your editing easier and faster. If you spend more time modifying one than you would just making a new element, it’s probably not worth using.
Finally, if you aren’t going to use a particular element more than once, it’s probably not worth creating a MOGRT. You’ll save time by sticking with your traditional After Effects project or Essential Graphics panel build.
Limits and expectations
Keep in mind that MOGRTs aren’t perfect. There is a technical curve to creating them. You not only have to know After Effects but also need to learn the additional steps to create MOGRTs properly with the controls you want. The Essential Graphics panel doesn’t support some After Effects settings. Other times, a MOGRT may include assets that will work for you but may break when you share it with someone else. Luckily, you can have After Effects tell you when these situations arise, and you can decide how to deal with them on a case-by-case basis.
There’s also no dynamic updating. If you get it into Premiere or Rush and want to change something, you can’t just open After Effects and hit “save and update.” You’ll have to export all over again. This can get messy, as you can end up with multiple versions of the same incorrect template. Maintenance is key.
Other downsides become apparent during use. If they are complex, they may not play in real-time, and as always, they can take longer to render and export. Finally, there are also rare occasions where the underlying After Effects project will lose a file if the project is moved around or shared. Premiere doesn’t tell you if something is wrong with the MOGRT; it just won’t work, leaving you scratching your head. Re-linking MOGRTs that aren’t working can be a chore.
Let’s get some MOGRTs
If you aren’t using MOGRT templates yet, you should. You expand your graphics resource pool every time you create one. Any MOGRT in your library can be utilized at a moment’s notice. With all the time and effort MOGRTs save, you have more time for shaping the main content of your project. You can pass this innovation on to your clients and still get home faster. You may just have some free time for that frosty beverage we talked about.


